
DIY Nativity Stable for Willow Tree Nativiy Bâtons peints, Creche de
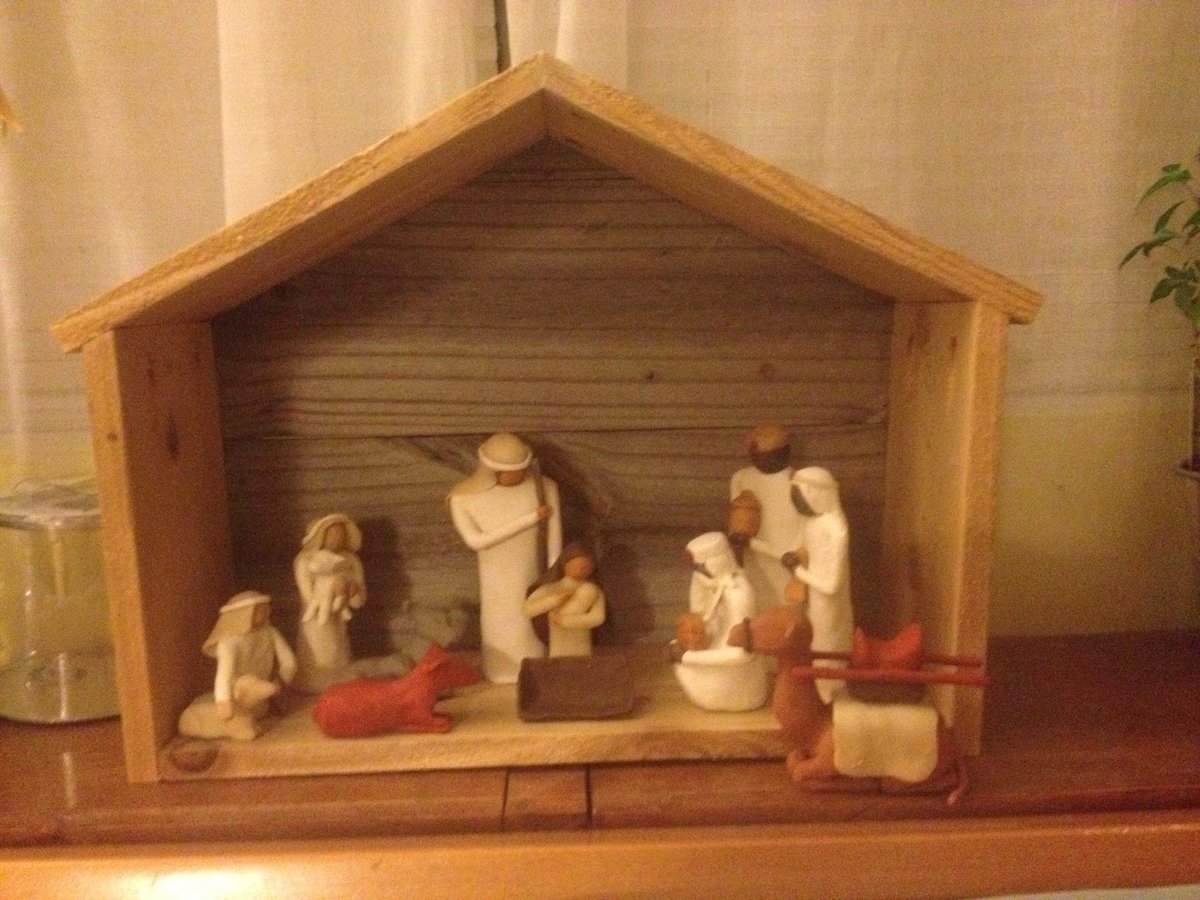
Step 1: Cut The Base I started with a rough cut pine board that I already had in the garage. The piece was 7.5″ wide, 7/8″ deep, and I cut it down to 14″ long using a miter saw. You can use whatever type of wood you want, but I liked the look of the rough cut board to give the nativity a rustic feel.

RESERVED for Jim Kruse 36in.wide 24in.tall 20in.deep Walnut Etsy
Accurately position the anchors on the adjacent sides. Two anchors should be placed on either end of the posts; do this on two sides at each end. Place the base on an even surface, preferably on the ground where you need the stable to be positioned, and attach each corner post. Every end of the end pieces must have a corner post.

Reclaimed Wood Nativity Stable Creche by Christmas
Things that you will need: Drill, Miter Saw, Nailgun, (2) 2 in bolts with butterfly nuts, (4) large fence henges, (2) small fence hinges, screwdriver, safety eyewear, speed square, 27 fence panels.
Ana White Stable for Nativity Scene DIY Projects
I'm building a stable for a wooden Nativity set. This little project has been on my list for a while. I finally found the correct lumber to get the result I.

42 best Nativity Stable Design Ideas images on Pinterest Crafts, DIY
Easy DIY Nativity Stable- From Wood Scraps! If you've purchased a nativity set without a stable let me show you how easy it is to build a pretty DIY nativity stable out of wood scraps. Are you ready? Materials needed: Some affiliate links included for your convenience. Click here for our full disclosure. 1.

Pin on Teaching
Glue and screw the two 24 inch boards together. The next step is to attach the roof. The roof is a triangular shape. The longest side of the triangle should be 57 inches. The other two sides of the triangle should be 24 inches. Cut the roof to the correct size and then glue and screw it to the top of the stable.

Stable for nativity scene. Made from project boards and kraft paper
STEP 1: Find some wood scraps. The size of the stable you make depends on the nativity characters.
Nativity Stable Tutorial bright apple blossom
0:00 / 16:38 DIY Nativity Stable ~ IT FOLDS FLAT! TooCuteSisters 232 subscribers Subscribe Subscribed Share 18K views 2 years ago We built a stable for our outdoor nativity! Check out this.

Decoración de Navidad madera de pesebre natividad estable Etsy in
The 1 by 4s need to be set in on the back and sides, so the picket fence roof can rest directly on the walls. The four eye hooks, one on each inside corner, hold the roof on the stable. It holds pretty good, the roof has not blown off in the wind- though once the whole thing blew over backwards!

Rustic Nativity Stable Barn Christmas Decor by TheReclaimedNation
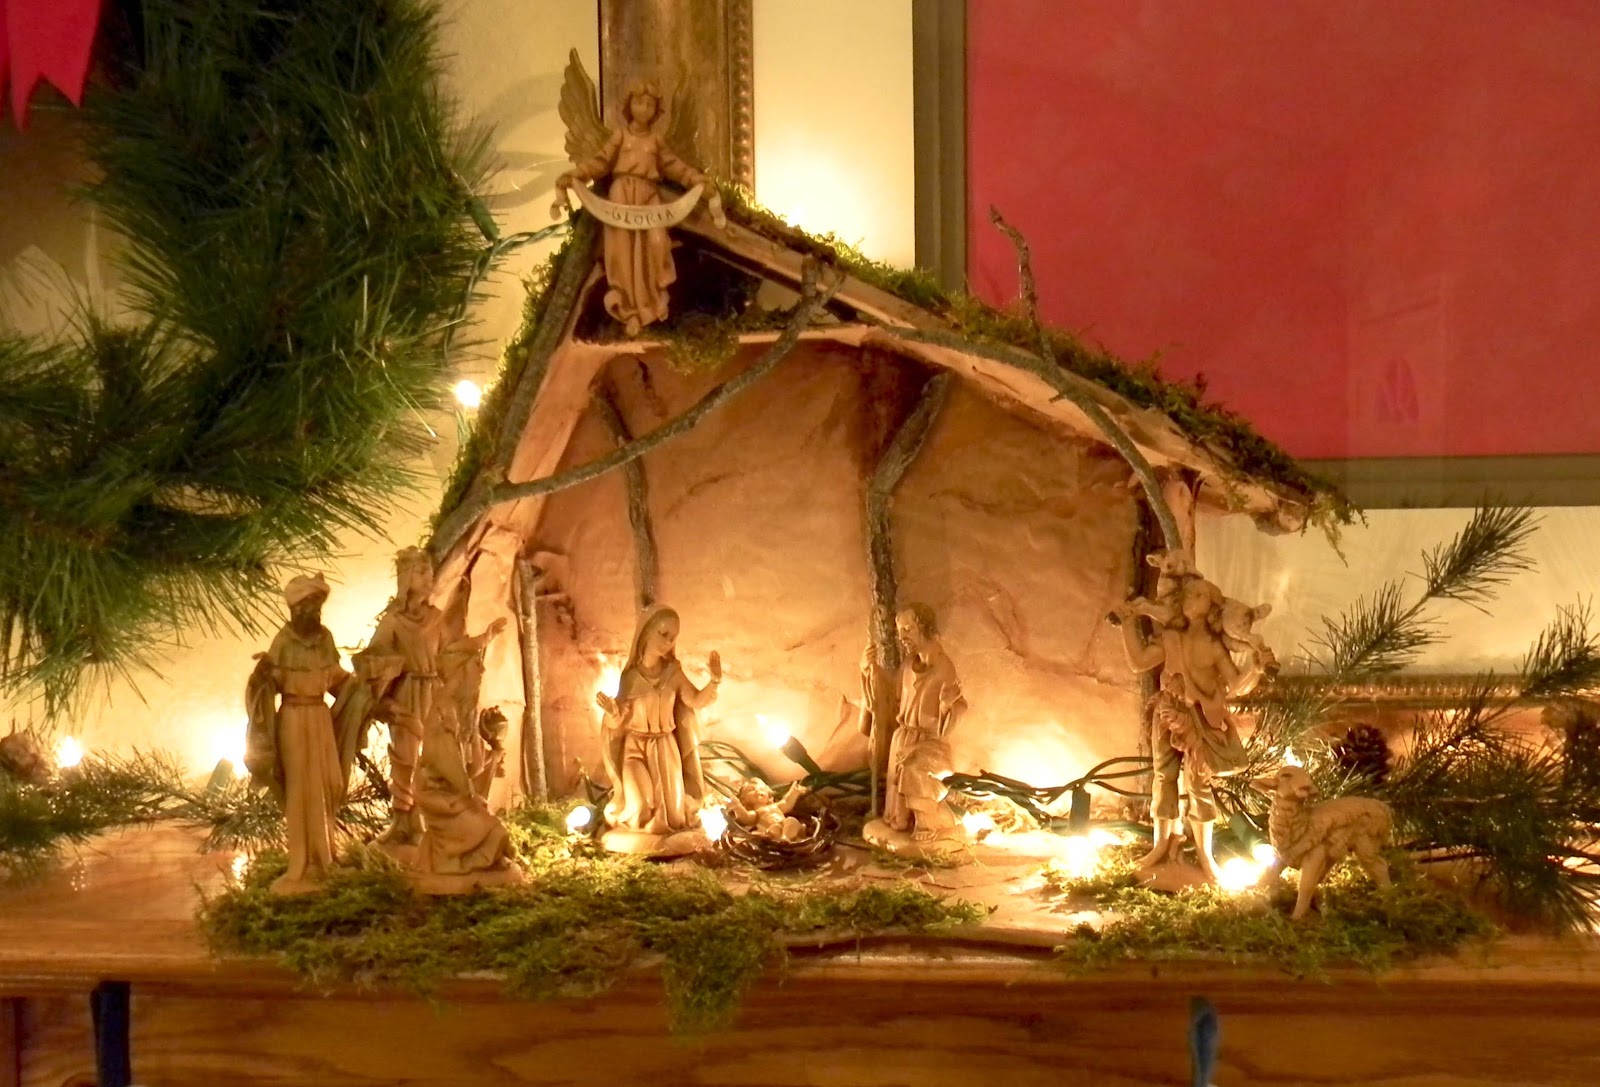
This post teaches how to build, set up, and decorate a simple Christmas nativity scene with nativity crafts you can make and additional elements you can buy to make a more elaborate Christmas Nativity display. Add a touch of magic to your Christmas decorations by setting up a Christmas nativity scene for friends and family to enjoy.

Pin by wally cuevas on Diy nativity stable Diy nativity, Nativity
This DIY Christmas nativity stable is a fun Christmas craft for kids and adults made with popsicle sticks. Use this cute wooden nativity stable to make a homemade Christmas nativity scene! (First published November 17, 2016; this post is updated and republished to improve the content.)

images view;_ylt=AwrB8pjRz5tY2kIANjFx.9w4;_ylu
The calculation is based on the average size of an actual person (1.7 m). Now divide the size of the figurine by the size of a real person: 12 cm ÷ 170 cm = 0.07. Multiply this value by all the other objects in your nativity scene. For example, take a door that is 2 m high in real life: 200 cm x 0.07 = 14 cm.

Pin on presepi
Method 1 Making a Tabletop Craft Stable Download Article 1 Paint or stain all of your craft sticks a dark brown if you want. Work in a well-ventilated area to avoid breathing any harmful fumes. Use a paintbrush to apply a thin layer of your paint or stain to the craft sticks. Wait until the paint or stain is completely dry before working with them.

Ideas Build wood nativity stable diy wood plans
Step 2: Assemble the Base. To provide some additional stability, I made the base from two layers, in opposing directions. Trim your pieces as needed, based on the size of wood you use. In order to nail the wall pieces from two the side and bottom, I trimmed the top layer of the base, as shown in the image.

DIY Outdoor Nativity Stable Handcrafted with Love
Step 1: Tools and Materials Tools Hammer Method to apply paint or stain to wood (paint brush, sponge brush, old rag, hands)..and a place to hold it (paint bucket, plate etc.) Saw Materials Paint or stain wood, the amount depends on the size you want your stable to be Nails stick Twine, the natural fiber stuff is the best

Image result for nativity stable plans Nativity stable, Diy nativity
0:00 / 7:40 DIY - Nativity Stable under $25 BigRedFishDad 36.5K subscribers Subscribe Subscribed 453 45K views 6 years ago DIY - Nativity Stable under $25 I got this idea from a friend a work..